Cricut Tools
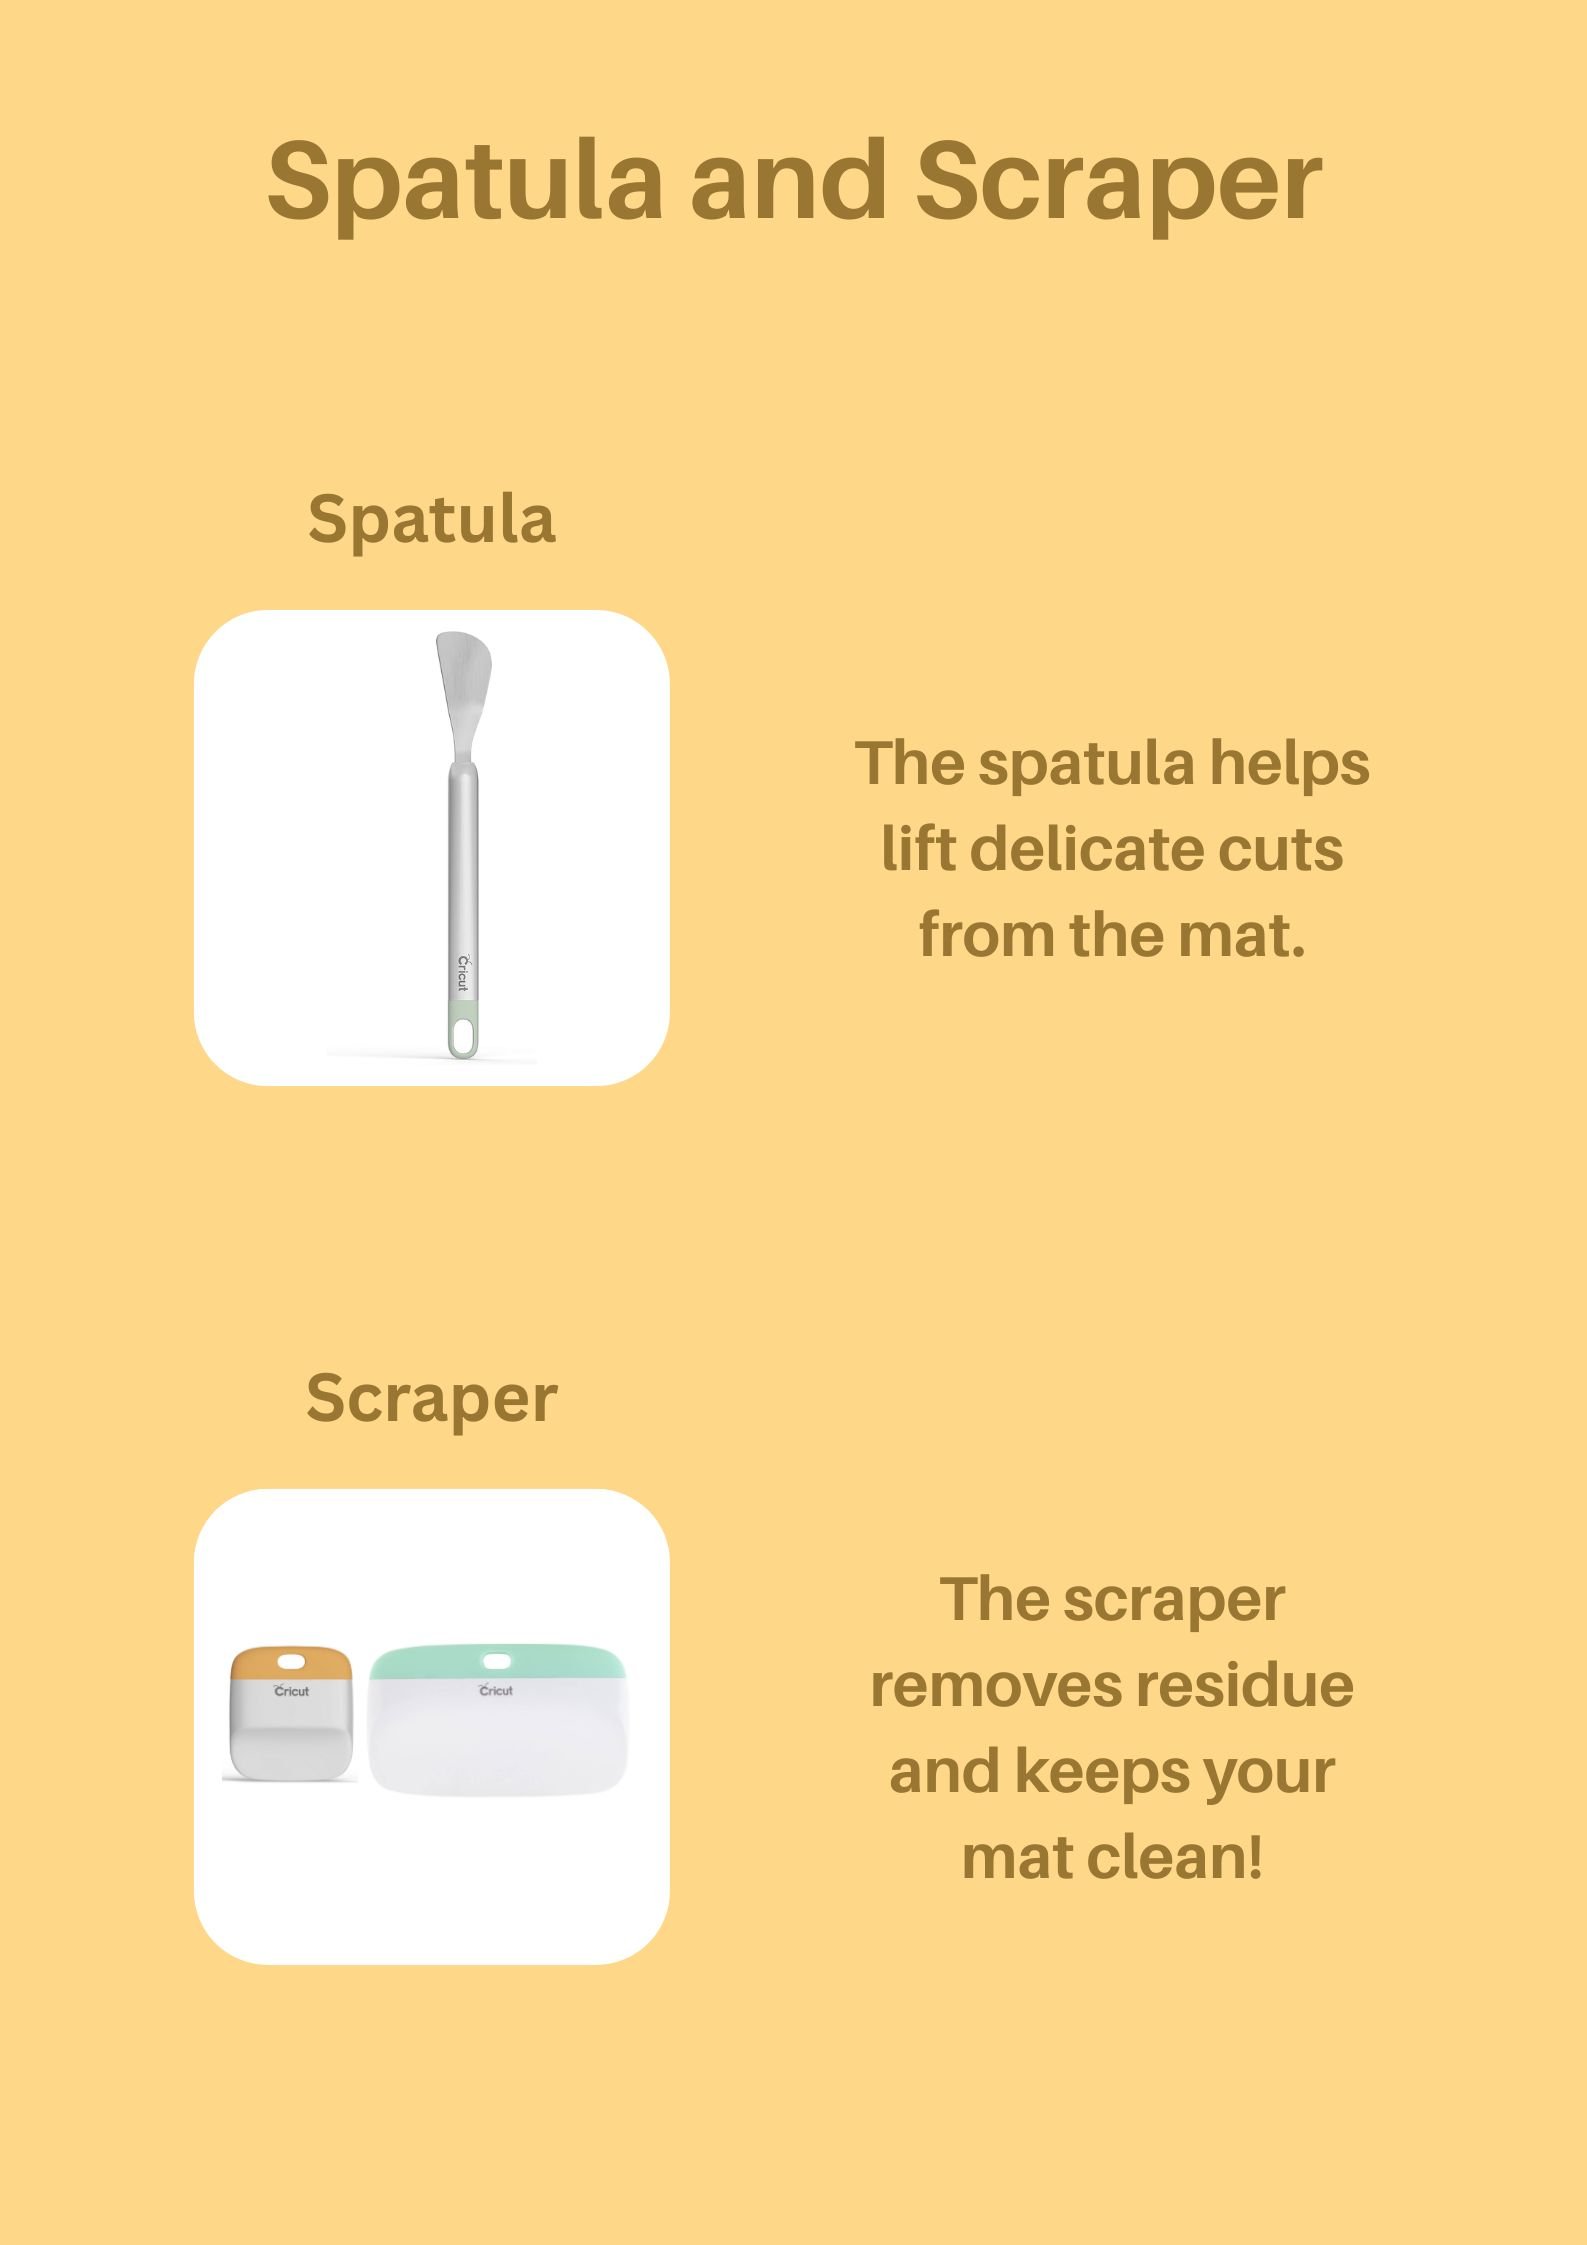
The Cricut spatula is an essential tool for anyone working with intricate designs or delicate materials. Its primary function is to gently lift cuts from the cutting mat without causing tears or distortion, which is especially useful for projects involving vinyl, cardstock, or thin fabrics. The spatula’s thin, flexible edge allows you to slide it under even the smallest cuts, ensuring that your design remains intact. Best practices for using the spatula include working slowly and carefully, especially around fine details, and always lifting from the edge of the material rather than the centre. This minimizes the risk of bending or damaging your project. A useful hack is to warm your vinyl slightly with a hairdryer before lifting—this can make the material more pliable and easier to remove from the mat.
The Cricut scraper is designed to ensure a smooth and clean surface for your projects. It helps remove debris, bubbles, and residue from both the cutting mat and your materials, which is crucial for achieving a professional finish. When using the scraper, apply even pressure and use long, smooth strokes to avoid scratching or damaging your mat. It’s also helpful for pressing vinyl or iron-on materials firmly onto your project surface, ensuring strong adhesion. A best practice is to clean your scraper regularly with a damp cloth to prevent the buildup of adhesive or material residue. For a handy hack, use the scraper to smooth out bubbles in adhesive vinyl before applying transfer tape—this can save you time and frustration during the application process.
Combining the use of both tools can significantly improve your crafting workflow. For example, after cutting a design, use the scraper to clear away excess material and debris from the mat, then switch to the spatula to lift your design. This two-step process ensures that your workspace stays clean and your materials remain undamaged. Another useful hack is to use the scraper to help position materials precisely on your project surface before pressing them down, which is especially helpful when working with layered designs. By mastering these tools and incorporating these best practices and hacks, you’ll find your Cricut projects become more efficient, precise, and enjoyable!
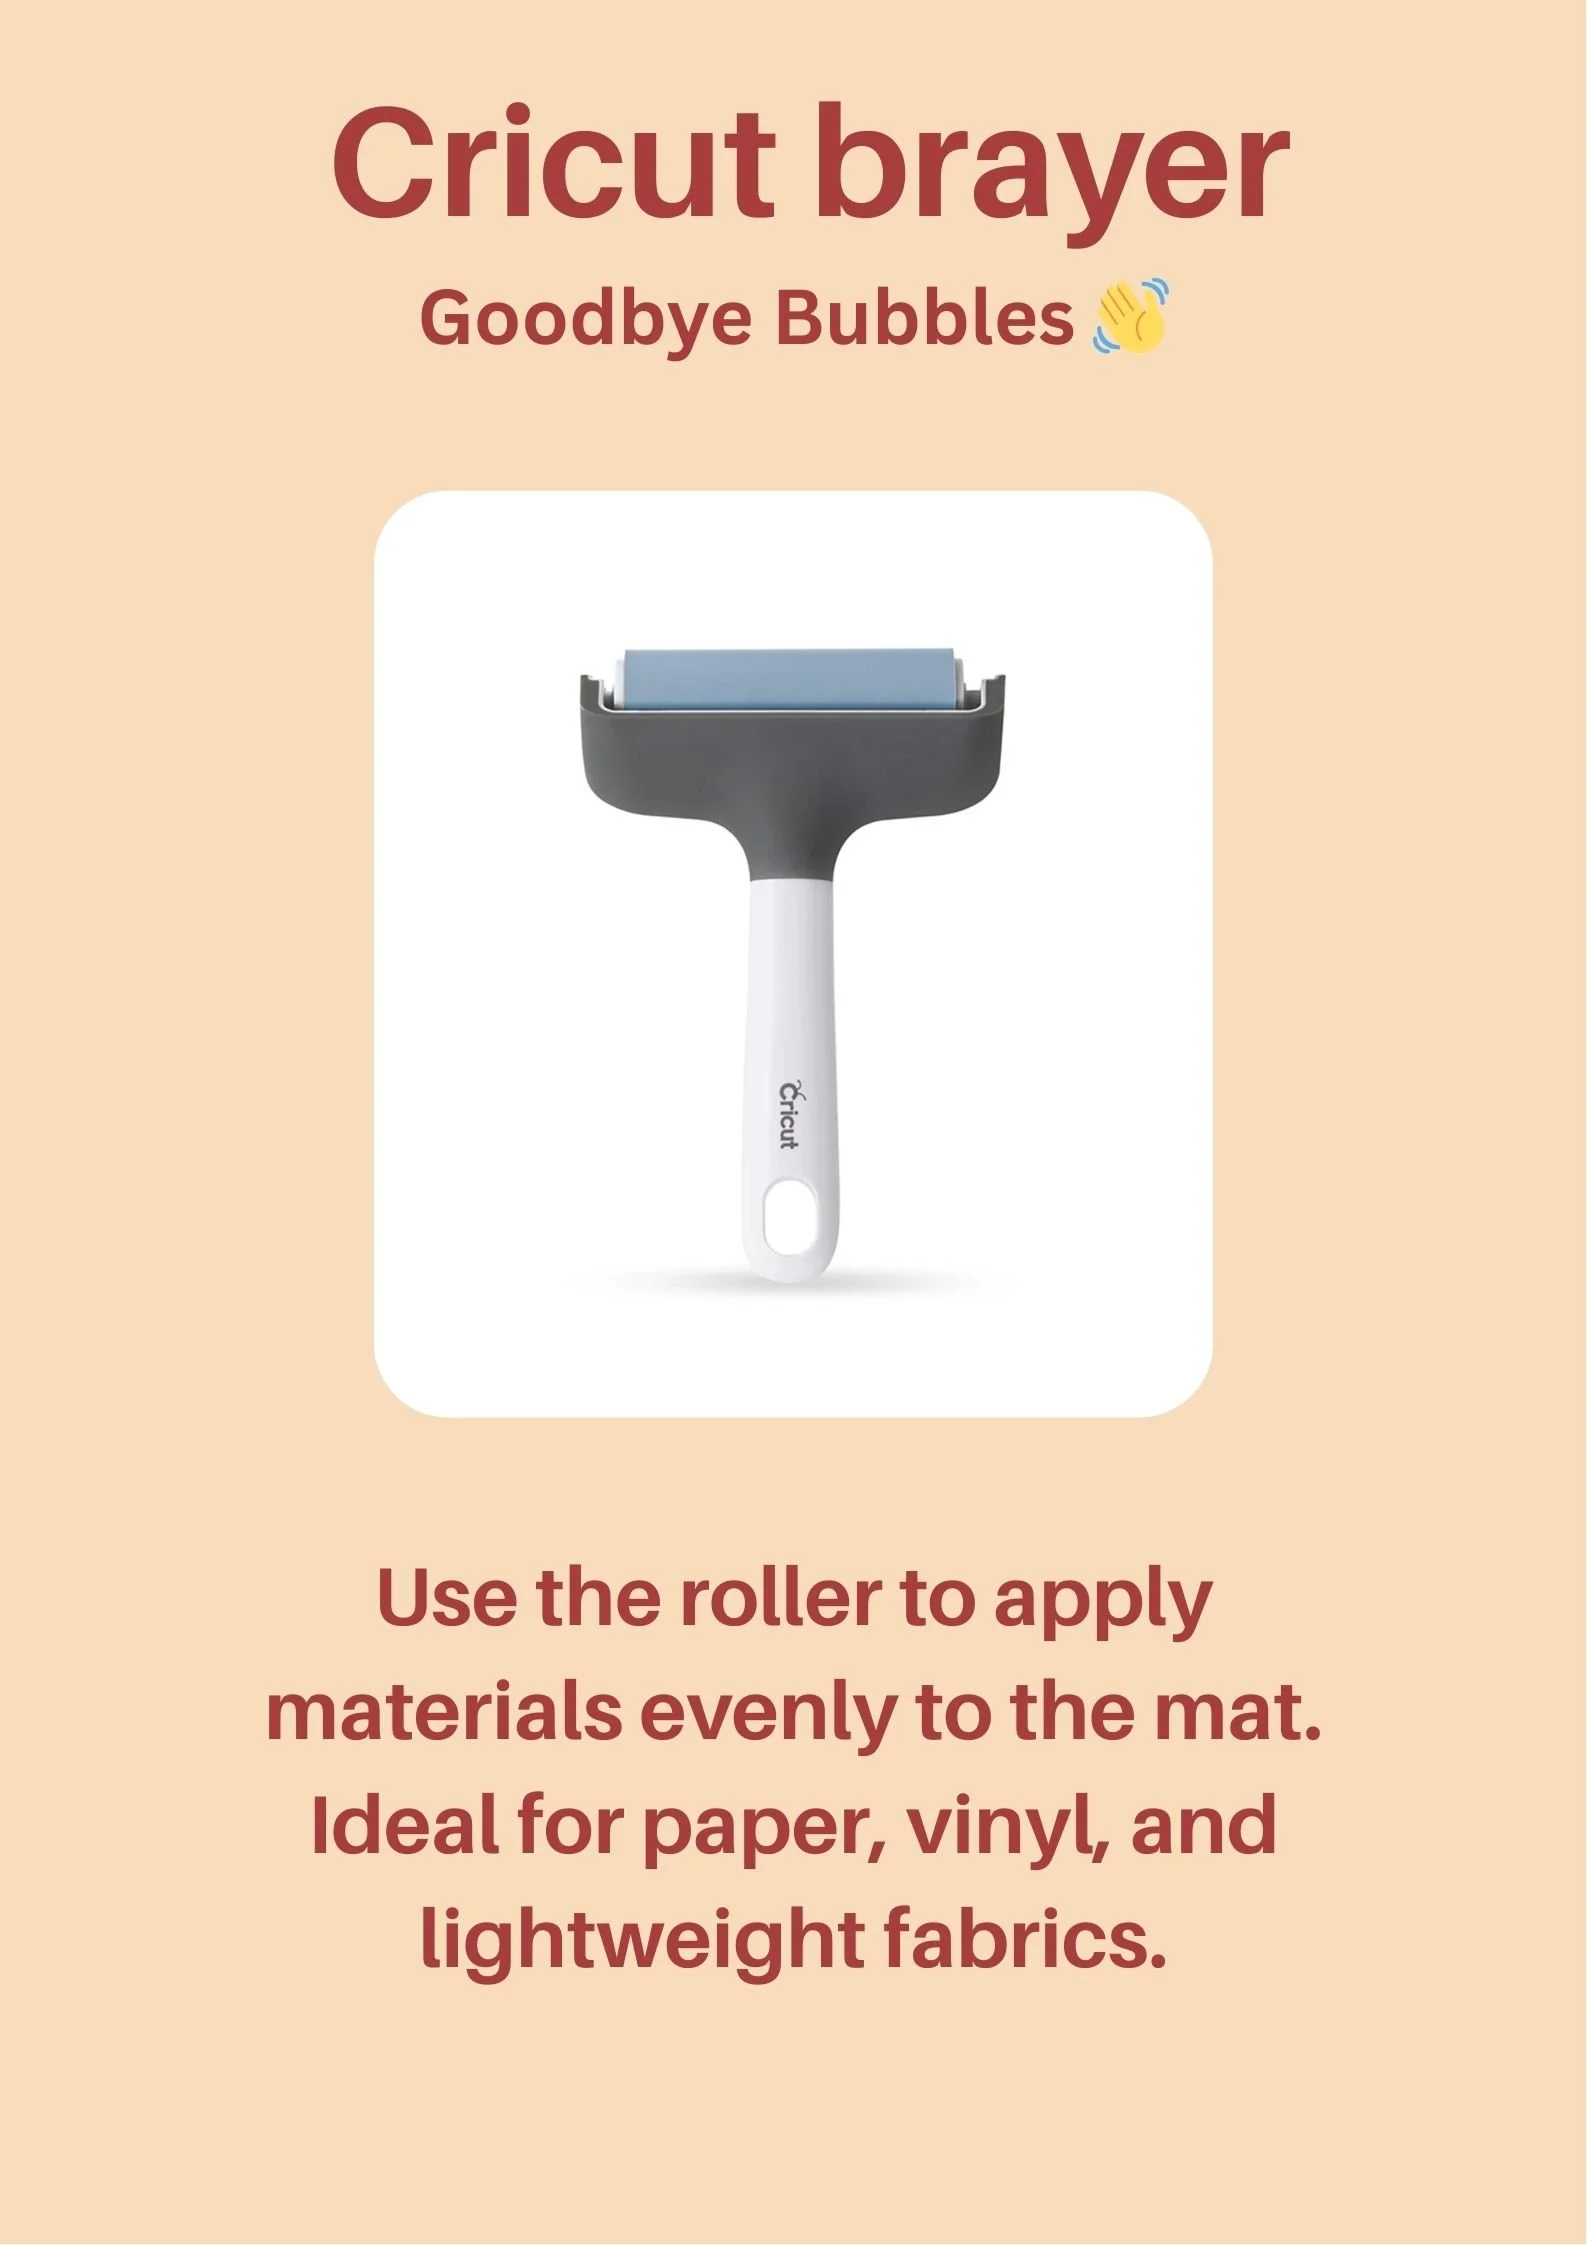
The Cricut brayer is a versatile tool designed to ensure your materials adhere smoothly and evenly to the cutting mat. Its roller mechanism allows you to apply consistent pressure, which helps eliminate air bubbles and wrinkles, especially when working with delicate or lightweight materials like paper, vinyl, or fabric. The brayer is particularly useful for larger projects or when using materials that tend to curl or lift at the edges. To use it effectively, start by placing your material on the mat and then roll the brayer from the centre outward in all directions. This technique helps to secure the material firmly and prevents shifting during the cutting process. A useful hack is to lightly mist your mat with water before applying your material—this can improve adhesion and make it easier to achieve a bubble-free surface.
Best practices for using the Cricut brayer include cleaning the roller regularly to remove any adhesive residue or debris, which can accumulate over time and affect performance. Store the brayer in a dry, cool place to maintain its effectiveness. For materials that are particularly stubborn or prone to lifting, try rolling the brayer in a crisscross pattern to ensure maximum contact with the mat. Another handy tip is to use the brayer to smooth out transfer tape before applying it to your project—this ensures a clean, professional finish without bubbles or wrinkles.
The Cricut brayer can also be used creatively beyond its primary function. For example, if you’re working with heat transfer vinyl (HTV), use the brayer to press the vinyl firmly onto your fabric before heat pressing. This extra step can help prevent shifting and ensure a crisp, clean design. Additionally, if you’re layering materials, the brayer can help you align and secure each layer before cutting, reducing the risk of misalignment. By incorporating these best practices and hacks into your workflow, you’ll find that the Cricut brayer becomes an indispensable tool for achieving professional-quality results in all your projects!
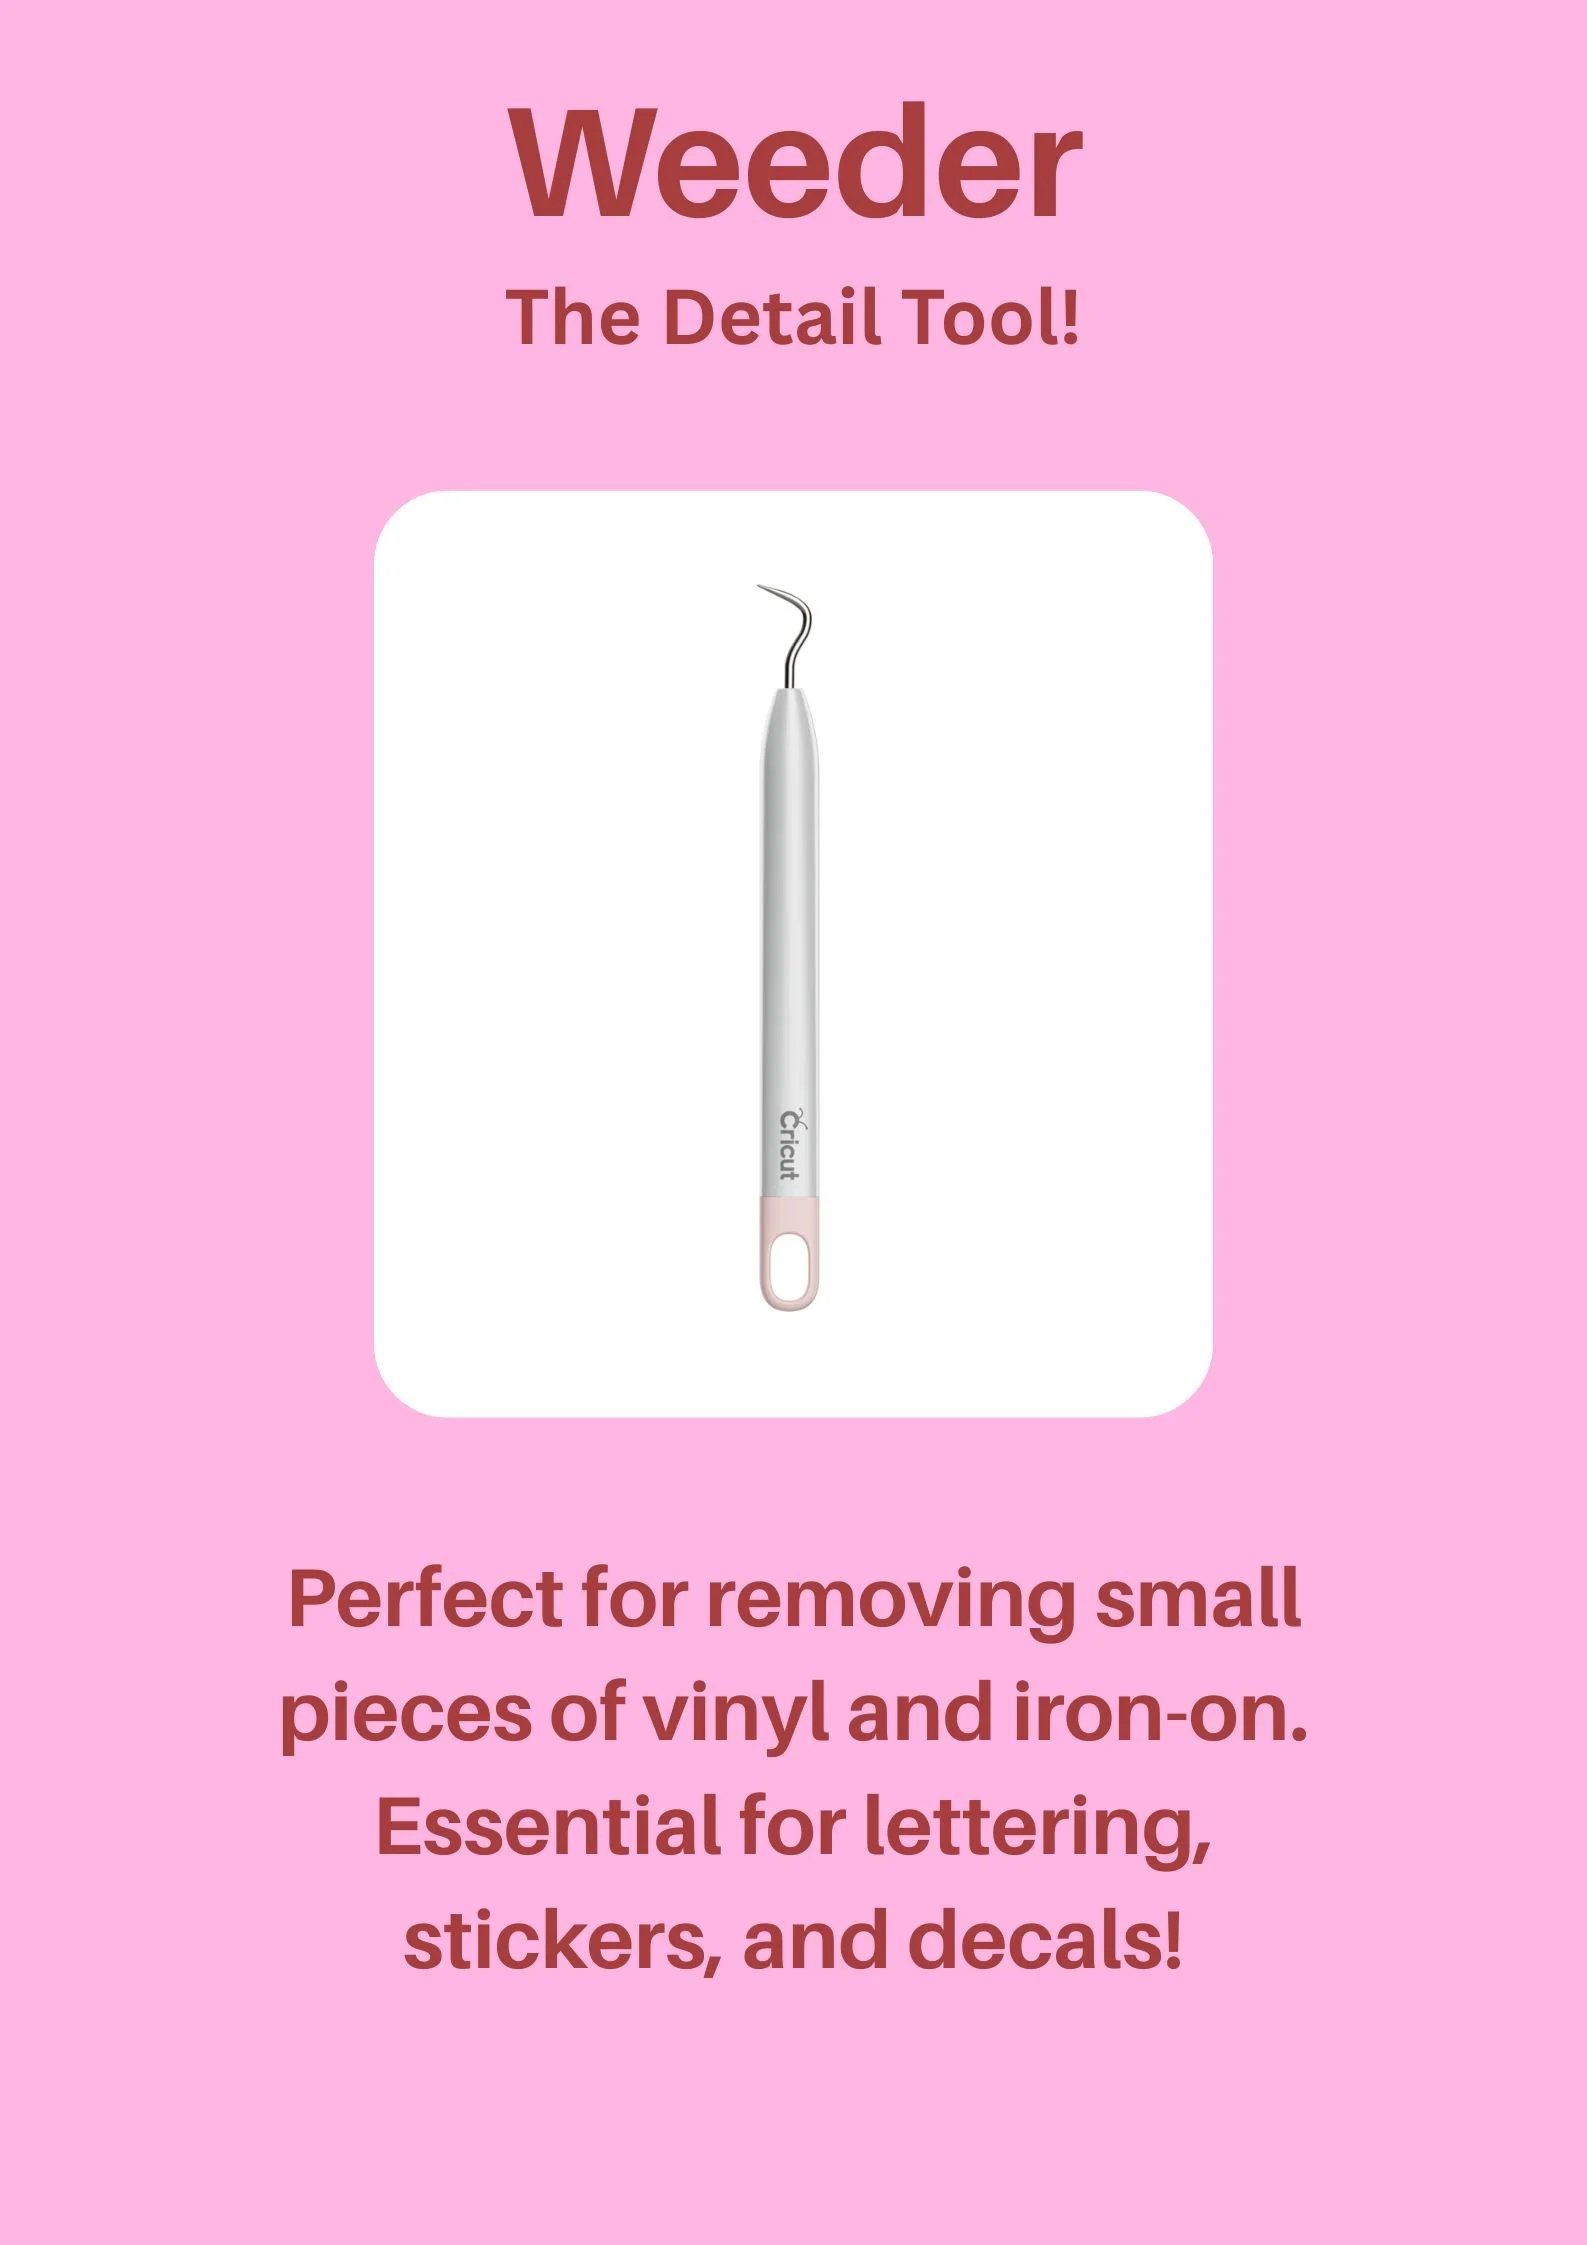
The Cricut weeder is a precision tool designed to remove small, intricate pieces of vinyl, iron-on, and other materials from your projects. Its fine, hooked tip allows you to lift and extract even the tiniest cut outs, making it indispensable for projects that involve detailed designs, such as lettering, stickers, or decals. To use the weeder effectively, hold it like a pencil and gently hook the unwanted pieces, lifting them away from your design. This tool is especially useful for intricate fonts or designs with small negative spaces, where fingers or larger tools might struggle. A helpful hack is to work under good lighting or use a magnifying lamp to ensure you don’t miss any small pieces, especially when working with complex designs.
Best practices for using the Cricut weeder include keeping the tool clean and free of adhesive residue, which can build up over time and reduce its effectiveness. Store it in a safe place, such as a pencil case or tool organizer, to avoid bending or damaging the fine tip. When working with particularly stubborn materials, try warming the vinyl or iron-on slightly with a hairdryer—this can make the material more pliable and easier to weed. Another useful tip is to weed your design while it’s still on the cutting mat, as this provides a stable surface and reduces the risk of accidentally tearing your project.
The Cricut weeder can also be used creatively beyond its primary function. For example, it’s great for lifting and repositioning small pieces of material if you make a mistake during assembly. You can also use it to clean up edges or smooth out details in your design before applying transfer tape. For projects involving multiple colours or layers, the weeder helps ensure each layer is perfectly aligned and free of excess material. By incorporating these best practices and hacks, you’ll find that the Cricut weeder becomes an essential tool for achieving flawless, professional-quality results in all your detailed projects!
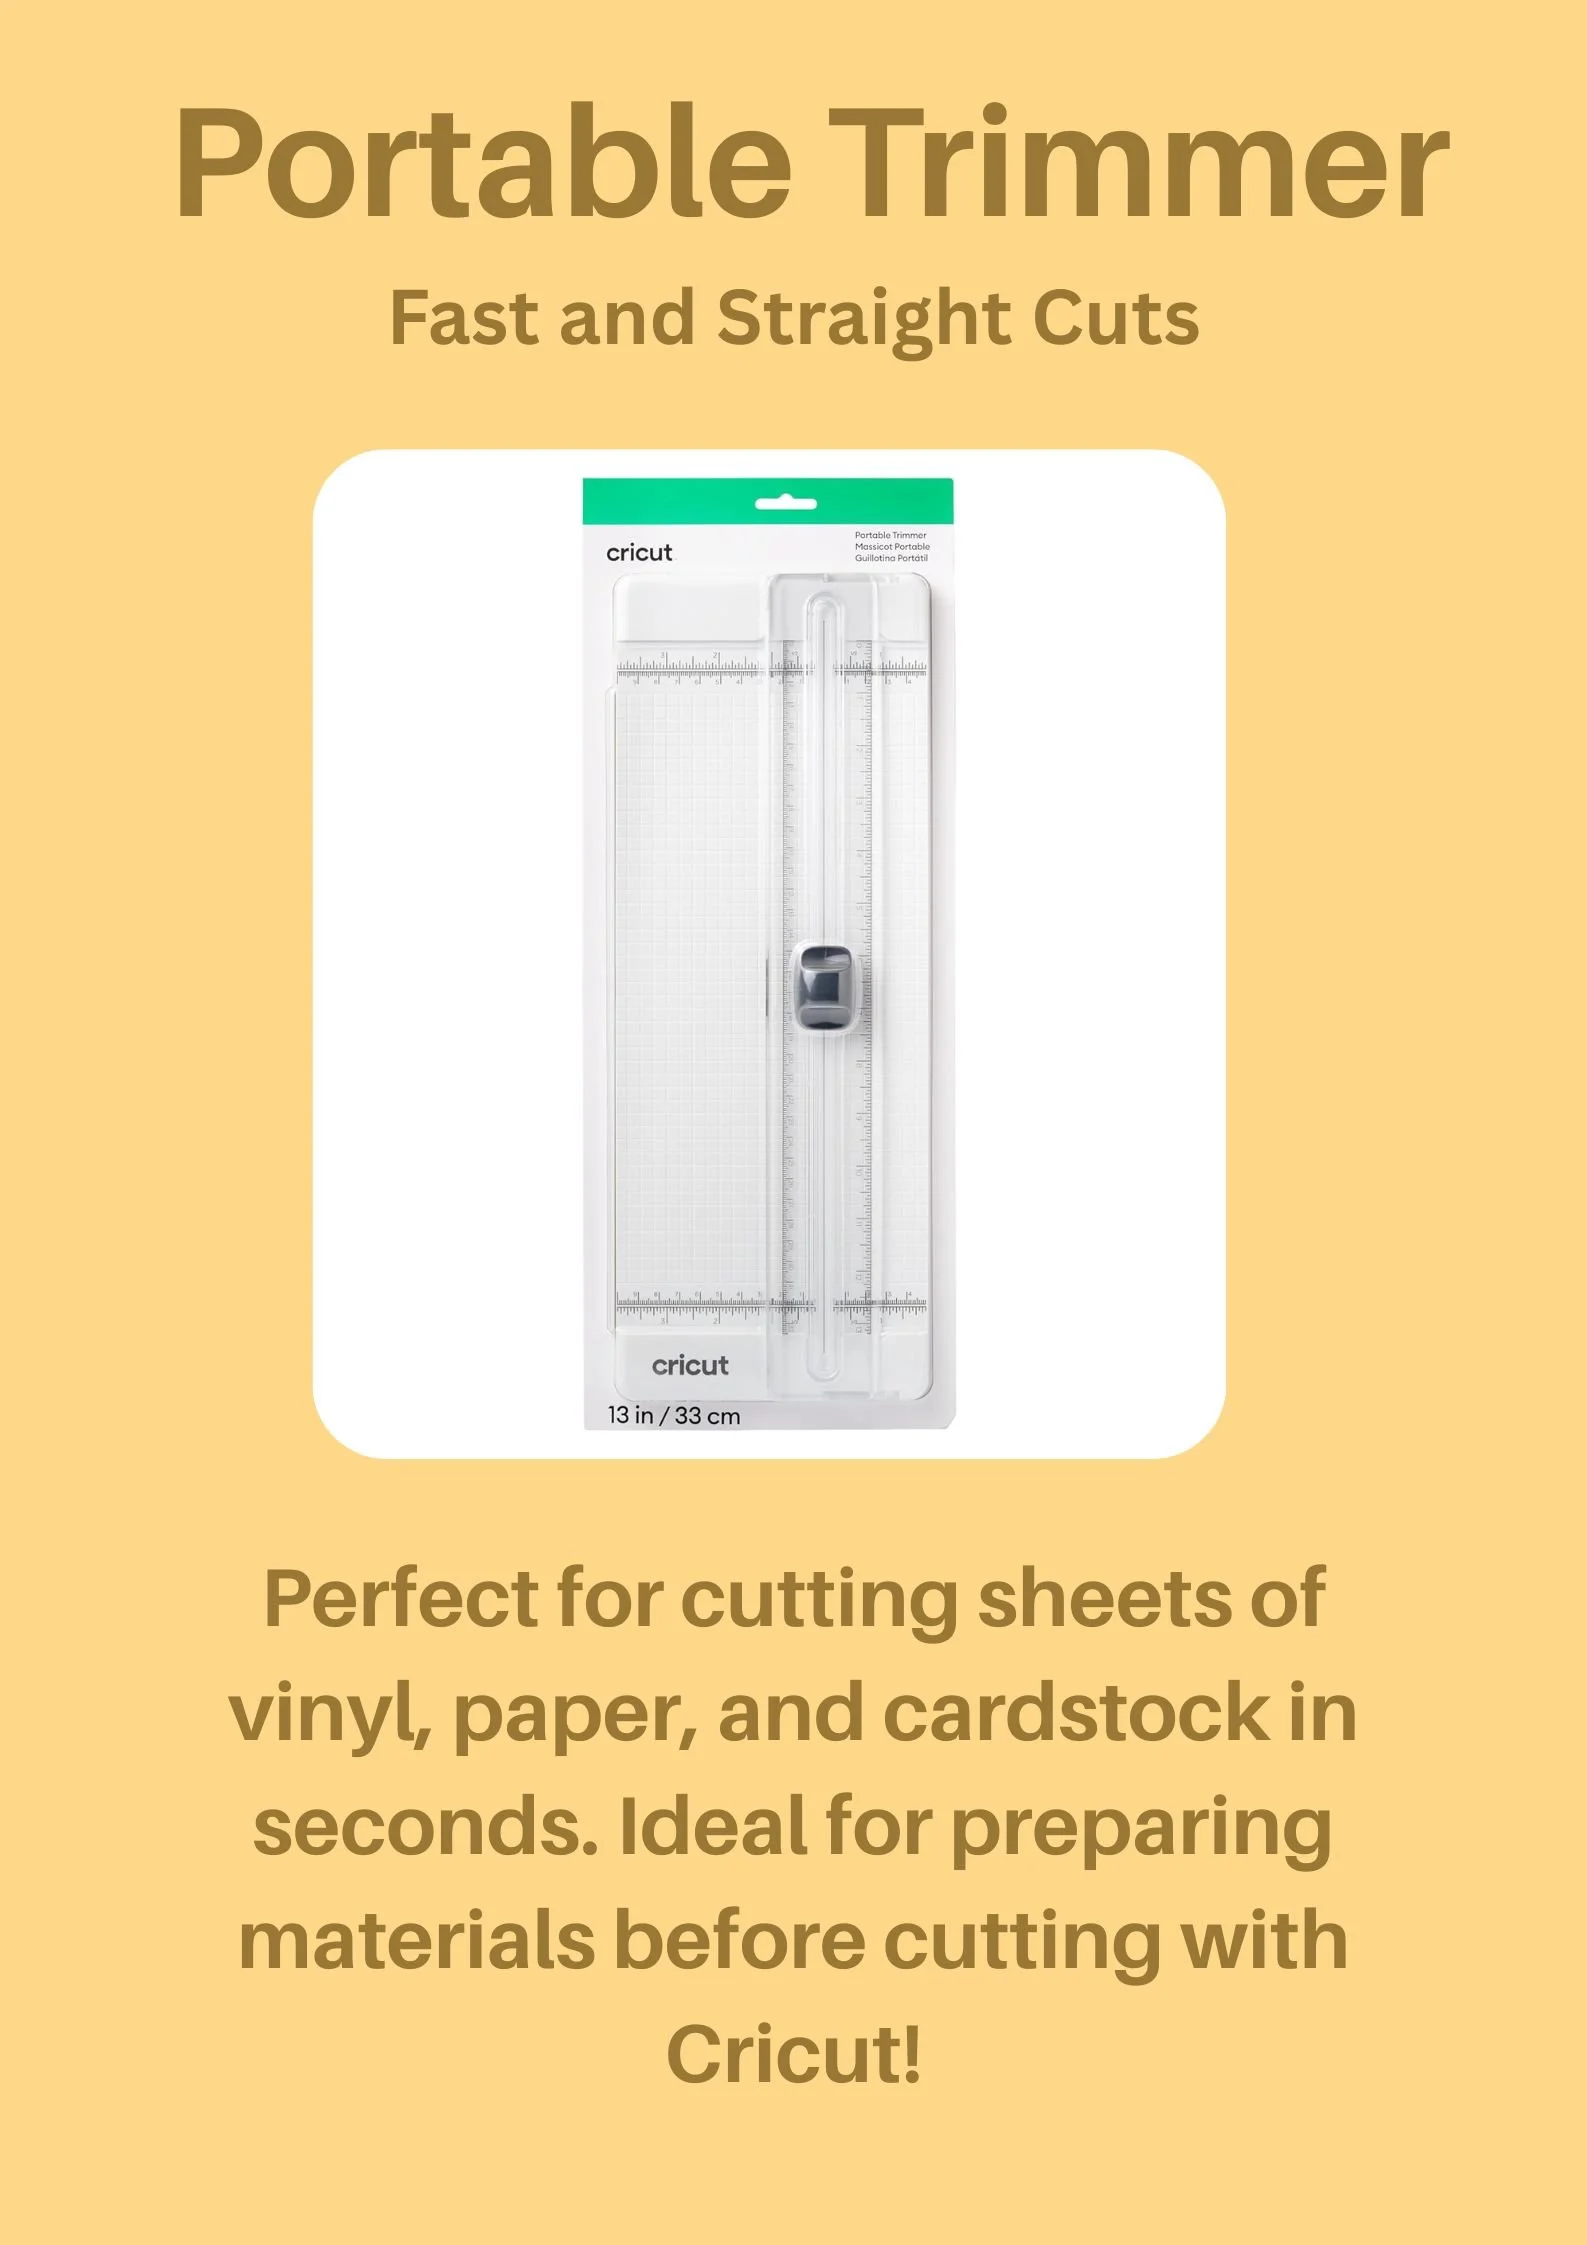
The Cricut Portable Trimmer is a versatile and convenient tool designed for making fast, straight cuts in a variety of materials, including vinyl, paper, and cardstock. Its compact size and portability make it ideal for crafters on the go or those with limited workspace. The trimmer features a built-in ruler and grid lines, allowing for precise measurements and cuts up to 13 inches (33 cm) in length. To use it effectively, align your material with the grid lines and use the sliding blade to make smooth, even cuts. This tool is especially useful for trimming materials to size before cutting with your Cricut machine, ensuring that you start with clean edges and accurate dimensions.
Best practices for using the Cricut Portable Trimmer include keeping the blade sharp and clean for optimal performance. Regularly check the blade for any debris or adhesive buildup, and replace it if it becomes dull or damaged. When cutting, apply steady, even pressure to avoid jagged edges or uneven cuts. For materials that tend to shift, such as lightweight paper or vinyl, use a small amount of removable adhesive or painter’s tape to secure the material to the trimmer’s base. This will help keep everything in place while you cut. A useful hack is to use the trimmer’s grid lines to pre-mark measurements on your material, making it easier to align designs before cutting with your Cricut machine.
The Cricut Portable Trimmer can also be used creatively beyond basic trimming. For example, it’s great for cutting long strips of material for borders, banners, or quilling projects. You can also use it to trim excess material from completed projects, giving them a polished, professional finish. Another handy tip is to use the trimmer in conjunction with a cutting mat—place your material on the mat, align it with the trimmer’s grid, and cut directly on the mat for added stability. By incorporating these best practices and hacks, you’ll find that the Cricut Portable Trimmer becomes an essential tool for achieving precise, efficient cuts in all your crafting projects!

Cricut scissors are designed to provide greater control and precision when cutting materials by hand. Their ergonomic design and sharp blades make them ideal for detailed work, such as trimming intricate designs, cutting around curves, or snipping small pieces of vinyl, paper, or fabric. These scissors are especially useful for projects that require fine detailing, where a cutting machine might not be practical. To use them effectively, hold the scissors at a comfortable angle and use smooth, controlled cuts. For best results, keep the blades sharp and clean, and avoid using them on thick or abrasive materials that could dull the edges. A useful hack is to use the scissors to cut small notches or slits in your material before applying it to a project—this can help with alignment and reduce bulk in layered designs.
The TrueControl Knife is a versatile tool perfect for making precise, manual cuts and adding finishing touches to your projects. Its fine, sharp blade allows for detailed work, such as trimming excess material, cutting small shapes, or making intricate adjustments to your designs. The TrueControl Knife is particularly useful for working with vinyl, cardstock, and other thin materials where precision is key. To use it effectively, hold the knife like a pencil and apply light pressure, letting the blade do the work. Always cut away from your body and use a cutting mat to protect your work surface. A helpful tip is to use the knife to score fold lines in cardstock or paper before cutting—this ensures clean, crisp folds for cards, boxes, or 3D projects.
Both the Cricut scissors and the TrueControl Knife can be used together to achieve professional-quality results in your crafting projects. For example, use the scissors to roughly trim larger pieces of material, then switch to the TrueControl Knife for detailed cuts and finishing touches. Another creative hack is to use the knife to create custom stencils or templates by cutting precise shapes out of cardstock or vinyl. Always store these tools safely, with the blades protected, to maintain their sharpness and extend their lifespan. By incorporating these best practices and hacks, you’ll find that Cricut scissors and the TrueControl Knife become indispensable tools for achieving precision and control in all your crafting endeavors!
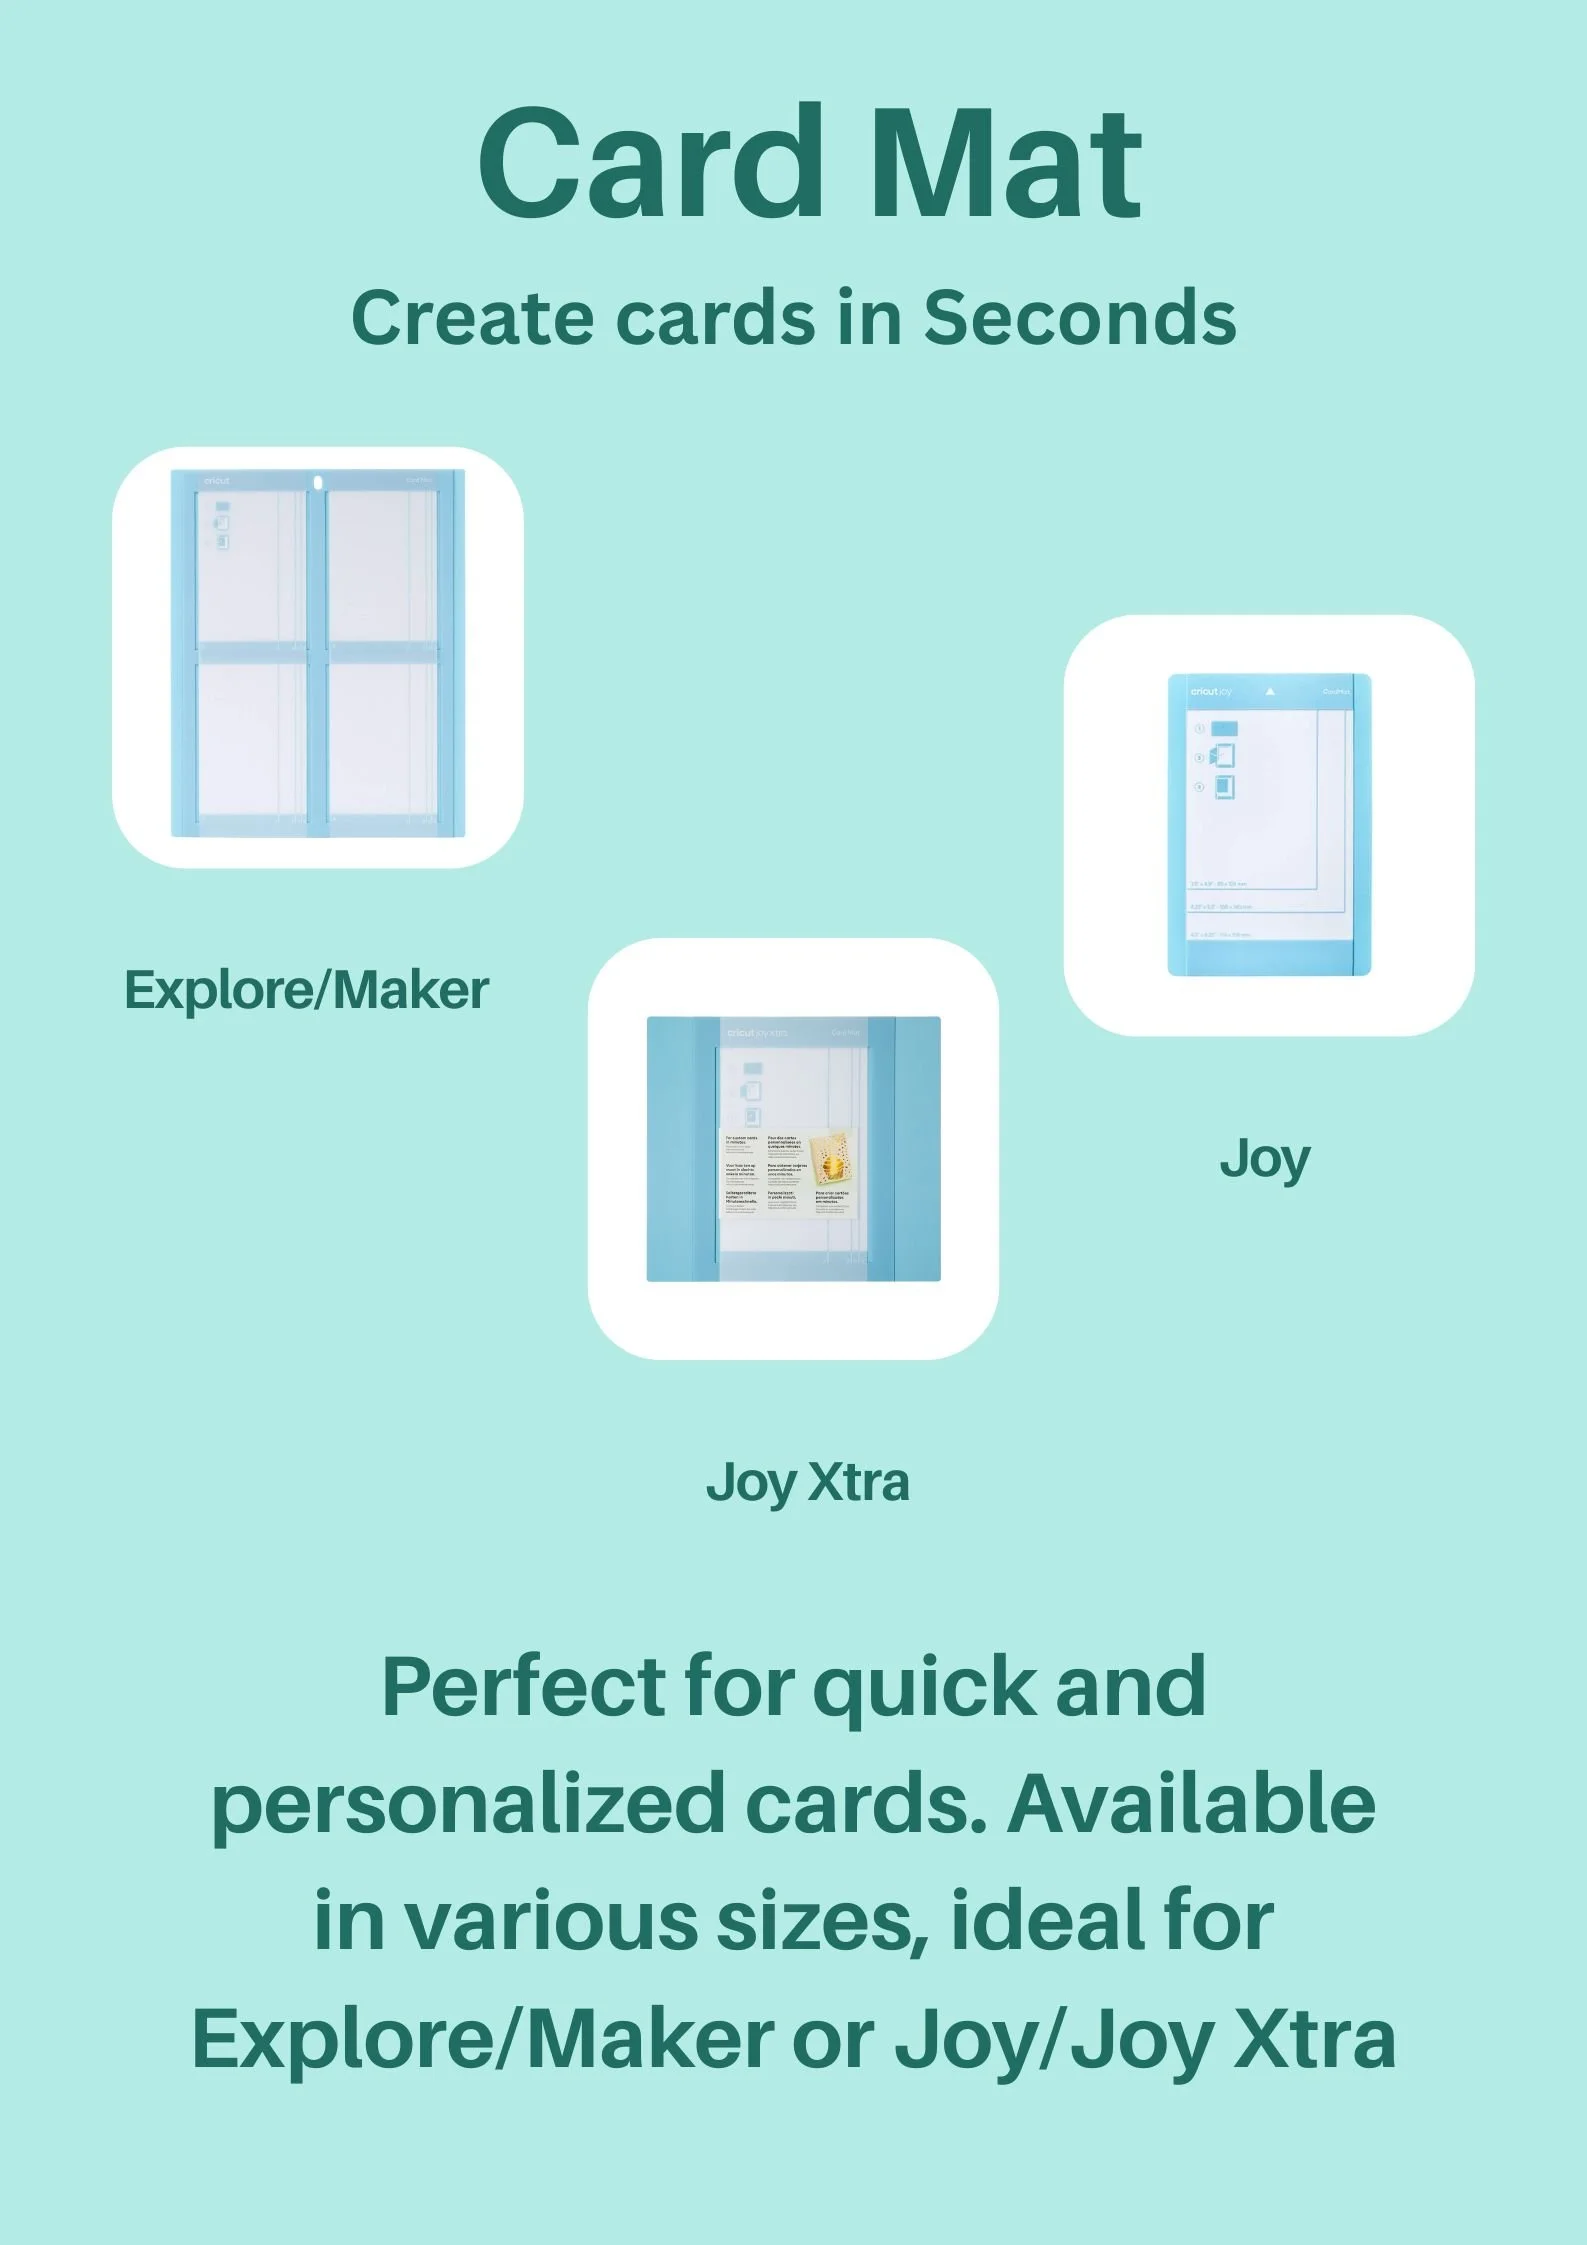
Cricut Card Mats are specially designed to make card-making quick, easy, and precise. These mats are tailored to fit the dimensions of standard greeting cards, allowing you to create professional-looking cards in seconds. Whether you're using the Cricut Explore/Maker or the Cricut Joy/Joy Xtra, these mats provide a stable surface for cutting, scoring, and assembling your card designs. The pre-marked guidelines on the mats help you align your materials perfectly, ensuring that your folds and cuts are crisp and accurate. To use them effectively, place your cardstock or paper on the mat, align it with the guidelines, and let your Cricut machine handle the rest. A useful hack is to use a brayer to smooth out any bubbles or wrinkles in your material before cutting, ensuring a flawless finish.
Best practices for using Cricut Card Mats include keeping the mats clean and free of debris to maintain their stickiness and effectiveness. If the mat loses its adhesive quality over time, you can refresh it by gently cleaning it with a damp cloth and mild soap, then allowing it to air dry. For intricate card designs, consider using a spatula to carefully lift your finished cards from the mat to avoid bending or tearing. Another tip is to use the Card Mat for both cutting and scoring in one go—this saves time and ensures that your folds are perfectly aligned. If you’re working with multiple layers, assemble your card directly on the mat to keep everything in place before adhering the layers together.
Cricut Card Mats are not just limited to traditional card-making. You can also use them to create custom invitations, gift tags, or even small booklets. For a creative hack, try using the Card Mat to cut and score materials like lightweight chipboard or vellum for unique, textured cards. Additionally, you can use the mats to create matching envelopes by cutting and scoring envelope templates, giving your cards a fully personalized touch. By incorporating these best practices and hacks, you’ll find that Cricut Card Mats become an essential tool for creating beautiful, personalized cards with ease and precision! Whether you're crafting for a special occasion or just for fun, these mats will help you achieve professional results every time.